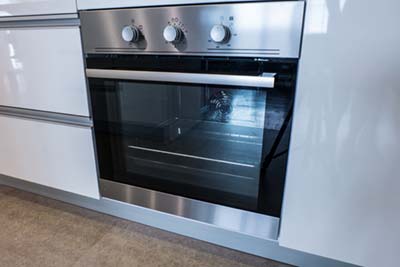
Wall Oven Installation
Wall oven installation is usually quick and straightforward and should take less than an hour to complete.
The first thing your technician will do is to turn off the power to the old oven at the breaker box. It is a good idea to make sure you know where your breaker box is located before he arrives.
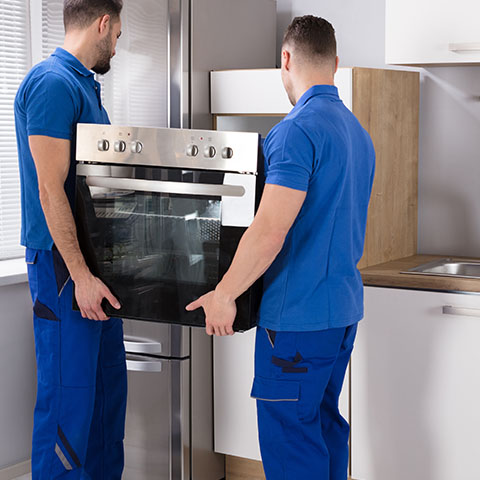
Two certified technicians will be there to unhook and remove your old oven if necessary. They will then unload the new oven from their vehicle and unpackage it. They should give you a chance to confirm the model and color before installation.
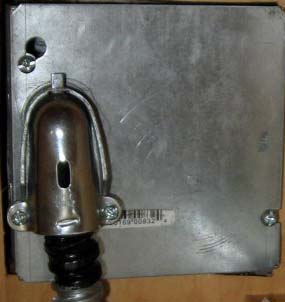
They will then confirm the measurement of the cabinet cutout and the size of the wall oven. Assuming everything is good, they will move the oven in close proximity to the cabinet and hook up the electrical cord to the junction box. Wall ovens are hard-wired into an electrical junction box and require 220 volt power.
Once hooked up, they will turn on the power and confirm the functionaly of the oven. They will then lift the new oven into the space and secure it as per the model’s requirements.
How do I know if my wall oven was installed correctly?
- Is the unit square and is the edge of the unit flush against the cabinet? Check that the unit looks square and is pushed all the way back. Sometimes if the cutout is too small, it is difficult to push the wall oven all the way back.
- Does the unit work correctly? Your unit should have power and should function normally.
Other Considerations
While the wall oven installation is fairly straightforward, below are a couple of items to consider:
- Stacking Multiple Appliances
- Junction Box Location
- Cabinet cutout size
- Spacing requirements below your unit
Stacking Multiple Appliances
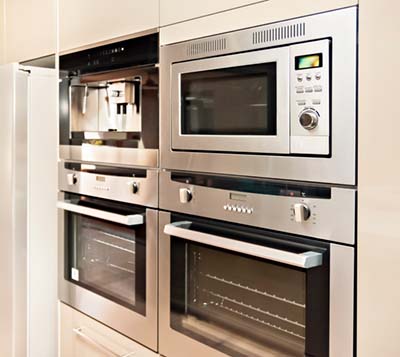
Stacking mutliple wall appliances on top of eachother looks great but you need to consider the spacing requirements of the units. Some types of wall oven may not be UL approved for stacking on top of each other such as single wall ovens.
Stacking a microwave on top of a wall oven is very common. In order to streamline your installation, review the user manuals for both models to make sure you are aware of the venting and wiring locations and requirements of your units.
Junction Box Location
Sometimes, the location of the junction box can get in the way of pushing the wall oven fully back into the cabinet. Your technician can do some things to change the loction of the electrical connector or can move the junction box to a location that will accomodate your wall oven.
Electrical modifications can be time consuming and typically require additional charges.
Cabinet Cutout Size
Sometimes we find that the cutout (the area in the cabinet into which your appliance will fit) is simply the wrong size. It could be too wide, too narrow, too tall, too short or too shallow.
To reduce the risk of this, you can schedule a Certified technician to come out to your home and take measurements. It is not a bad idea to do this before you select your oven so you can be sure to purchase a unit that fits your space.
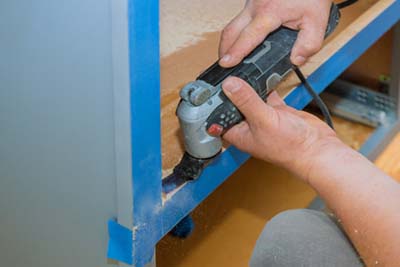
Often, your technician can make small modifications to your cabinet in order to make it fit. If your cabinets are too narrow or too short, your technician may be able make a small cut to the lip of the cabinet to allow your oven to fit propertly. Ideally, this cut will be covered by the edge of your appliance.
If your cutout is too tall, your technician can build a wooden platform underneath the wall oven to allow it to be installed at the top of the cutout. You may then need to have your cabinet company come and install a panel beneath the wall oven to cover the open space.
If the cutout is too wide, it is possible to for certified to fabricate one or more stainless steel metal strips that can be mounted to the edge of your appliance to cover the gap.
Modifications to cabinets or metal strips typically require additional charges.
Spacing Requirements
Typically, you must have at least four inches of space beneath your wall oven to allow for adequate ventillation. Consult your contractor to learn the building codes that apply in your area.
