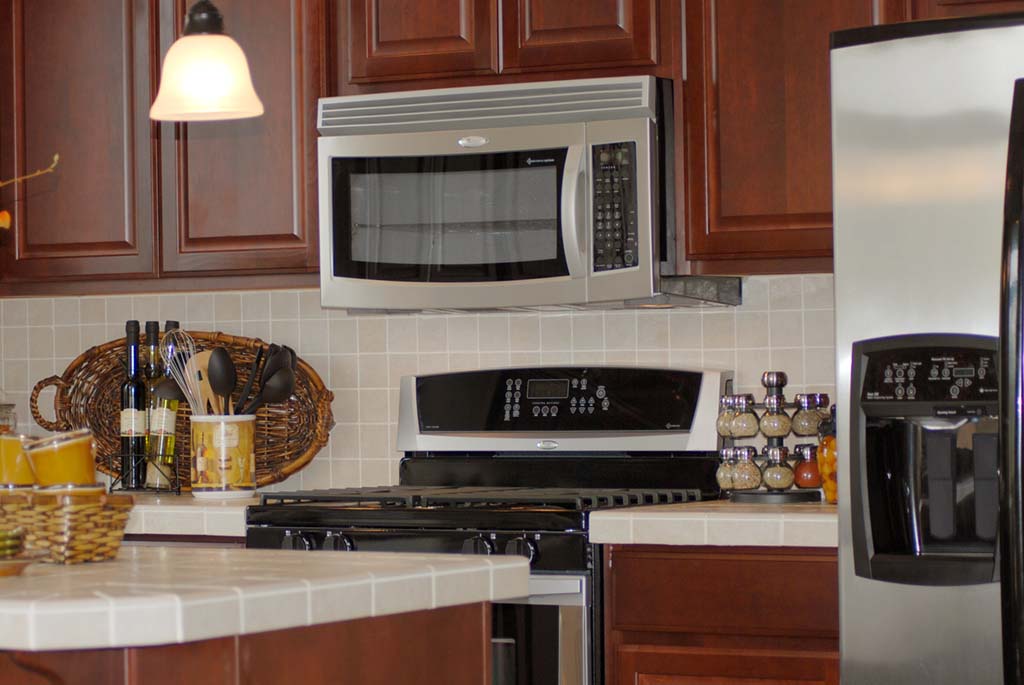
Range Installation
There are many types of ranges, each with some unique installation requirements. Most of the time, two technicians will be required to move the range into your home.
Note: Retail stores often have their own delivery teams that are trained to do range installations, particularly for freestanding and slide-in ranges. They often ask Certified to complete the more complex installations or those that require gas hookups.
Installation will typically take less than one hour. Before installation, your technician should give you a chance to look at the unit and confirm that it is the correct model and color.
The basic installation is straightforward. The old unit will be disconnected and hauled away, if necessary. The new unit will be unboxed and prepped. It will be moved into close proximity. Depending on whether you have a gas, electric or dual-fuel range, the hookup requirements will be different. This will be expained later on in this article.
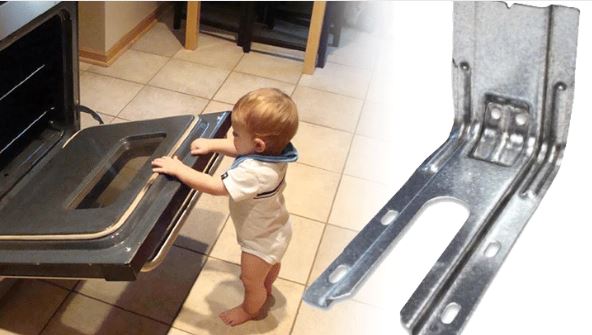
A special bracket will be installed on the floor called an “anti-tip” bracket. As you can probably tell from its name, this bracket locks the unit in and prevents it from accidentilly tipping forward and is required.
The unit will be moved into place with one foot inserted into the anti-tip bracket. It will be adjusted to the correct height relative to your countertops and leveled.
How do I know if my range was installed correctly?
Below are a few items to consider relative to your installation:
- Is the unit level? You can check that the unit is level both horizontally and verticially.
- Is the unit at the right height? Ranges are typically designed to level at a height of 36 inches. Normally, the top of the range should be level with the countertop. However, If your cabinets or countertops are shorter than this, the height of the range may not be perfectly flush with the edge of the countertops.
Note: It is not recommended to have your range’s cooking surface below the level of the adjacent countertops. This can result in heat transfer from the cooking surface to the countertops which could damage your countertops.
- Does the unit work correctly? All your burners should be working correctly and the oven should be able to be set to the correct temperature. On rare occasions, the leg or back of the range could be pushed up against the flexible gas line causing gas to flow at a low rate. If the unit does not seem to be working correctly, turn off the unit (and turn the gas valve to the “off” position) and call your installer immediately.
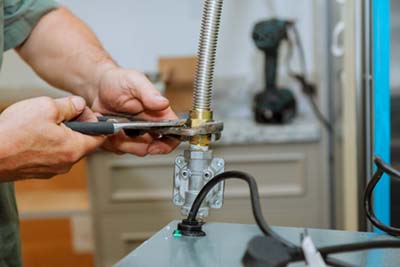
- Do you smell gas? Your technician will normally hook up the unit to the gas line and test for leaks. This can be done electronically or with a solution that will bubble if there are any leaks. However, if you smell gas, turn the local gas valve to the off position and call us immediately.
Other Considerations
Below is a short list of things to consider. This is not meant to be a complete list. Consult your owners manual for information specific to your range model.
- Electrical and Gas Considerations
- Range Cords and Outlets
- Gas Hookup
- Anti-Tip
Electrical and Gas Considerations
Electric Ranges
Electric ranges generally requre 220 volt power. The power line should not be run to the far right or left corner of the range. This will prevent the range from being able to slide all the way back. Check your user manual about the optimal outlet location. This is usually in the middle of the wall and low on the wall. Your user manual will tell you the optimal location of the power outlet so that you have the space to push the range all the way back.
Gas Ranges
Gas ranges typically require 110 volt power in addition to the gas. The gas line should have a manual shut-off valve located with six feet of the range. Again, check your manual for the optimal placement of the power outline and gas lines. They shoud be away from the feet of the range.
Dual-Fuel Ranges
A dual-fuel range is one where the cooktop surface is gas but the oven is electric. These ranges require both 220 volt power as well as the gas line hookup.
Regardless of your range model, be sure to check the power type and outlet location prior to the installation of your range and have your contractor make any necessary adjustments prior to the date of installation. Call Certified as soon as possible and alert them of any delays in your project.
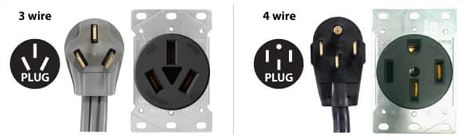
Range Cords and Outlets
If your range requires 220 volt power, there are two main plug configurations. One has three prongs and one has four prongs. Houses wired after 1996 will generally have four prong range outlets and those prior to 1996 will usually have three prong outlets.
Your retail store will typically sell you the range cord. Its a good idea to see what kind of power outlet you have. That will allow you to purchase the correct cord type.
Your Certified installer will typically have extra range cords in his van in case you were not able to purchase the range cord from your retailer. These will typically be more expensive than if you buy them from your retailer when you purchase your range.
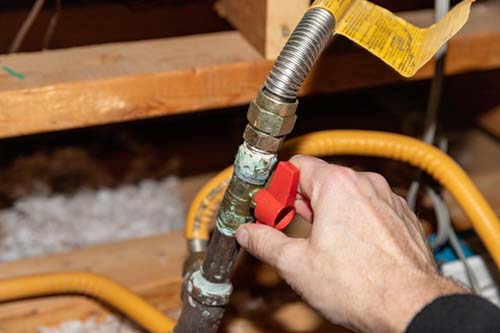
Gas Hookup
Your technician will hook up and test the gas connection for leaks. Your gas line should have a valve to allow you to shut the gas off right at the range. If you do not have a gas valve or would like your installer to add one, you can request that at the time of installation for an additional charge.
Construction codes typically require that you have a gas valve in the same room as the range and no less than six feet from the range. Reach out to your contractor or plumber for specific information about local codes.
While your Certified installer can install a valve, he will not able to run a new gas line. A licensed plumber should be able to help you with new gas line installation.
Anti-Tip
Anti-tip brackets are required on all range installations. These are attached to the floor and allow the right or left back foot of the range to slide in. This bracket prevents the range from being able to tip forward if weight is placed on the door.
It is important that gas lines and electrical outlets are not in the way of the feet of your appliance. Your installer will not be able to complete the installation if the anti-tip brackets are not in place so its a good idea to make any required modifications to gas and electrical lines before the date of installation.