Microwave Installation
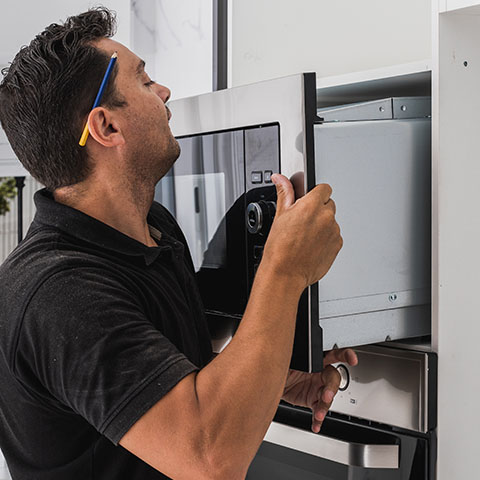
Microwave installation time will vary depending on the type of microwave you have, but will normally be under one hour.
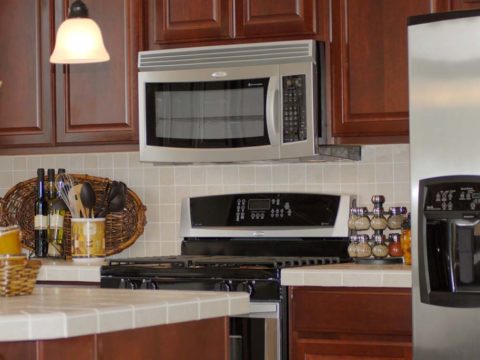
The most common type of microwave is an above-the-range model. This type is typically suspended directly above your range using a bracket mounted to the back wall and bolts that go through holes drilled into the cabinet directly above the microwave.
Built-in microwaves are placed into a space in the cabinet and a trim kit is mounted to the face which gives the microwave the appearance of being built directly into the wall of cabinets (see pic).
Micowave drawers are built into lower cabinets and have a tray that slides out allowing you to place your food into the microwave from the top.
Note: Occasionally, we are asked to attach a microwave to a flimsy shelf rather than an actual cabinet. Unfortunately, we have to decline this type of work. Microwaves are very heavy and could fall and cause injuries if they are not securely installed.
Other Considerations
Below are a few things to think about when planning for your microwave installation:
- Tile backsplashes
- Power
- Venting
Tile Backsplashes
If you have a tile backsplash behind your microwave (see pic), some special considerations may be required.
If your backsplash goes all the way up the back of the microwave, then we will install the back bracket directly over the tile. This requires a special drill bit and some additional time.
If the wall behind the microwave is partially tiled, we will need to install spacers in order to ensure that the bracket is secure and straight on the back wall.
Depending on the situation, spacing and drilling requirements may result in additional charges.
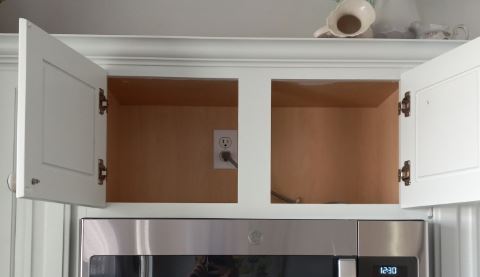
Power
Your outlet is typically located in the cabinet directly above where the microwave will be mounted. It is a good idea to make sure that you have power and that it is working before your installer arrives.
If you have a power line, but no outlet, your Certified technician can add an outlet for you. However, he will not be able to run a new power line if you do not have any power at all.
If you do not have power, contact your electrician and have them run a new 110 volt power line as per your local building codes.
Adding an outlet is an additional charge.
Recirculating
Most microwaves can be configured either to recirculate or to vent to the outside of your home. If your kitchen does not have the necessary ducting, recirculating is a perfectly good option.
When your micowave is configured to recirculate, it pulls air in, through a filter, then pushes the air out into your kitchen.
Open the cabinet above your micowave and see if you have ducting. There are multiple kinds of ducting and it may vent through the back wall, through a side wall or through the roof, but you can usually find some sort of venting in the upper cabinet if you have it.
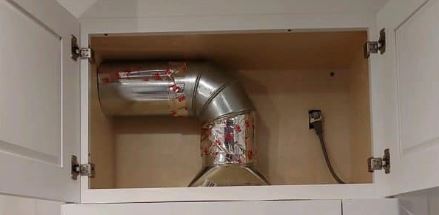
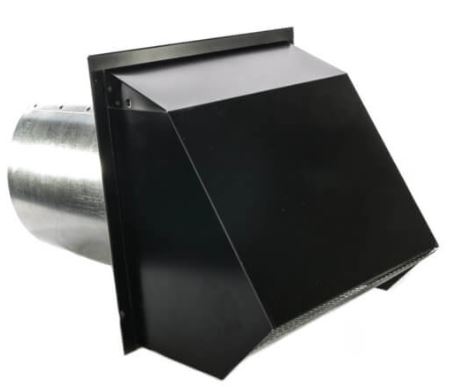
Venting
If you have venting in place, your technician will redirect the internal blower in your microwave and attach it to the aluminum pipe.
While recirculating is a perfectly acceptible option, venting your microwave outside has some advantages. Recirculated micowaves push heat, odors and smoke back into your home after being filtered.
Vented systems remove heat odors and smoke and vent them directly outside making your home more safe and comfortable.
Need venting installed?
If you do not have the necessary venting in your home and would like to get a quote on having Certified install venting, contact us for a quote.
Note: If your microwave will be sitting on an outside wall, the project will be simpler. If not, the project could be fairly extensive with venting possibly running up through your roof. We are not able to vent into the garage or other interior rooms.